bloom blog
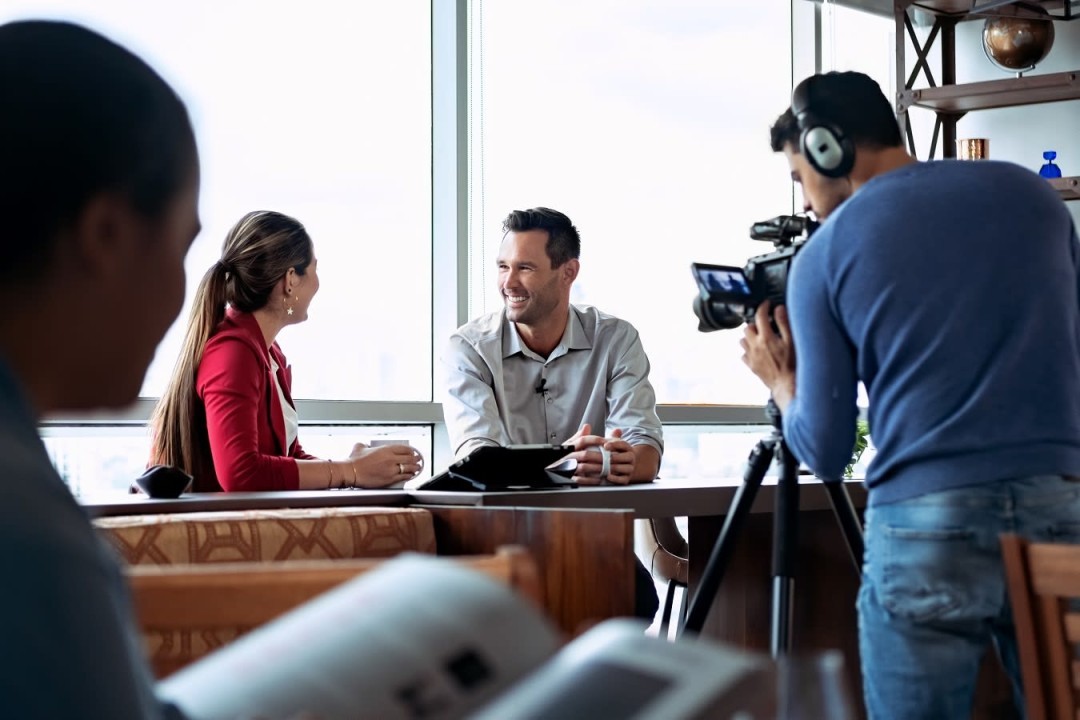
Corporate Video in the Twin Cities: A Powerful Internal & External Communications
Jun 19, 2025
Do your standout campaign ideas fall flat because at the end they look, feel, and sound like others?
Maximize Your Video Marketing ROI: Repurposing Content for All Platforms
Jun 9, 2025
Imagine you capture one high-quality corporate video with a compelling story for your business website but it also fuels your entire content marketing strategy across multiple platforms...
How Video Can Boost Your Minnesota Business in the Summer Season
May 16, 2025
Discover how video can boost your Minnesota Business in the Summer Season with creative ideas and how Bloom Creativ converts those in life to drive more sales!
Top Filming Locations in the Twin Cities
May 14, 2025
The Twin Cities, Minneapolis and St. Paul, aren't just great places to live; they're a visual playground for creators...
Minneapolis Photo and Video: The Power Combination
Apr 14, 2025
For your Minneapolis business, booking a combined photo and video shoot is a smart investment that elevates both efficiency and the impact of your deliverables...
Mastering Your Peerspace Rental for Video Production
Apr 8, 2025
Ever scrolled through endless Peerspace listings, your creative gears grinding, picturing the perfect backdrop for your next product video masterpiece?
Choosing Local: The Unbeatable Advantages of Small Video Production Companies in Minnesota
Apr 1, 2025
Ever felt like your project was just another number in a massive production house?
Video Production Budget: What Factors Influence the Cost?
Mar 27, 2025
If you've ever stared at a quote and wondered, "Where does all that money actually go?" you're in the right place.
Unveiling the Secrets of Successful Video Production Teams: Size Matters!
Mar 18, 2025
Ever scrolled through a captivating video and wondered about the magic behind the screen?
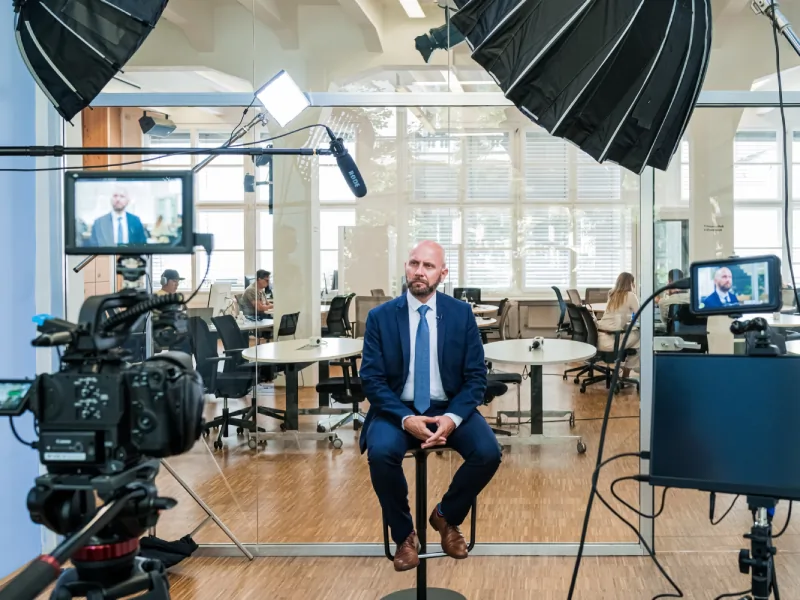
Unlock the Secrets of Stunning Videos: Your Lighting 101 Guide
Mar 12, 2025
Ever wonder why some product videos pop off the screen while others fall flat?
Minneapolis Businesses: Level Up Your B2B with These 3 Videos We Can Produce for You, Today
Mar 6, 2025
Forget the hypothetical...
Is Your Small Business Ready for Video Production?
Feb 24, 2025
In a world dominated by visuals, it’s no longer enough to rely on text alone to capture your audience’s attention...
The Untapped Power of Now: Why Live Streaming is Redefining Connection
Feb 18, 2025
Remember waiting forever for a video to buffer?
Super Bowl LIX Commercials: A Triple Threat of Creativity
Feb 11, 2025
This year's commercials showcased a diverse range of creative strategies, but they can largely be grouped into three main categories: Humor, Heart, and Hype...
Bloom's Big Update: New Studio, Fresh Merch, and What's Next
Feb 3, 2025
Things are happening at Bloom Creativ...
TikTok's Temporary Timeout: A Glimpse into a Post-TikTok World?
Jan 28, 2025
Remember January 18th? For a brief, chaotic moment, TikTok, the ubiquitous video-sharing platform, vanished from our collective consciousness...
Golden Globes 2025 Recap
Jan 9, 2025
Hollywood's biggest names gathered last night for the 82nd Annual Golden Globe Awards, a celebration of the year's finest in film and television...
Our Favorite Moments of 2024
Jan 6, 2025
2024 has been an incredible year at Bloom Creativ, filled with so many standout moments that made it truly unforgettable...
Ditch the Cheesy: Why Your Holiday Content Needs a Serious Upgrade
Dec 16, 2024
It’s that time of year again...
10 Thoughtful Holiday Gifts for Your Creative Freelancer Friend: The Ultimate Guide
Dec 9, 2024
Holiday shopping for your creative, freelance videographer or photographer friend can be tough..
Social Media Content: Tips for Creating Viral Videos
Dec 3, 2024
In today's digital age, social media has become an indispensable tool for businesses to connect with their audience and promote their brand...
Black Friday Deals for Video Production: A Creative's Dream
Nov 26, 2024
Black Friday is just around the corner, and for video production enthusiasts, it's a golden opportunity to snag incredible deals on top-tier gear...
Top 10 Reasons to Invest in Corporate Videos
Nov 22, 2024
In this fast-paced e-commerce era, businesses are constantly searching for trendy and exciting ways to capture potential audiences' attention...
5 Things To Have Prepared Before Starting a Video Project For Your Brand
Nov 11, 2024
So, you've decided to invest in a video...
One Billion Dollars Spent on Political Advertising in One Week
Nov 4, 2024
In a staggering display of political spending, a jaw-dropping one billion dollars was poured into political advertising in the last week...
Building a Strong Production Team: Roles and Responsibilities
Oct 9, 2024
In the fast-paced world of video production, a well-structured team is the backbone of any successful project...
Overcoming Creative Blocks: Tips for Staying Inspired
Oct 4, 2024
Creative blocks can be a frustrating roadblock for anyone involved in the creative process...
Avoiding Interview Crutch Words
Sep 30, 2024
Crutch words can significantly impact your interview performance...
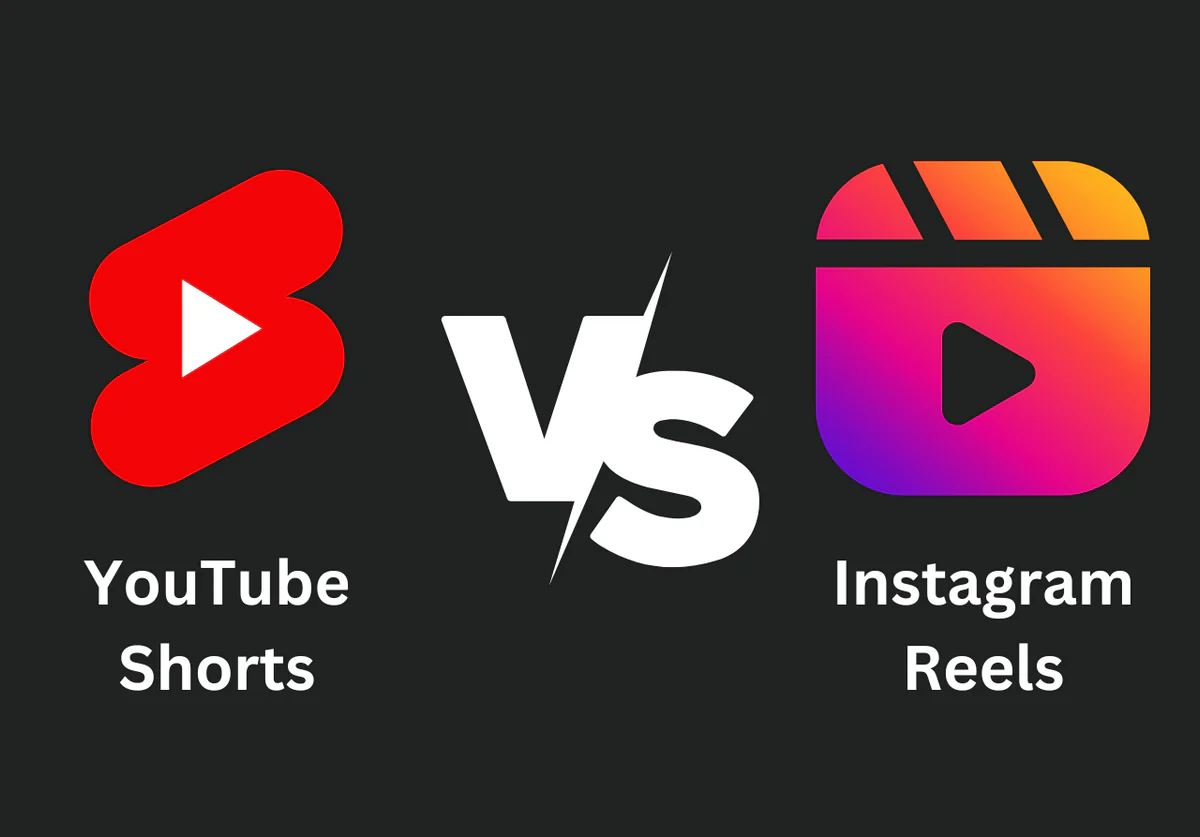
The Short and Skinny: Instagram Reels vs YouTube Shorts
Sep 16, 2024
We all know the power of a viral video...
Video Marketing Myths Debunked
Sep 11, 2024
Many businesses have misconceptions about video production, from the cost to the complexity...
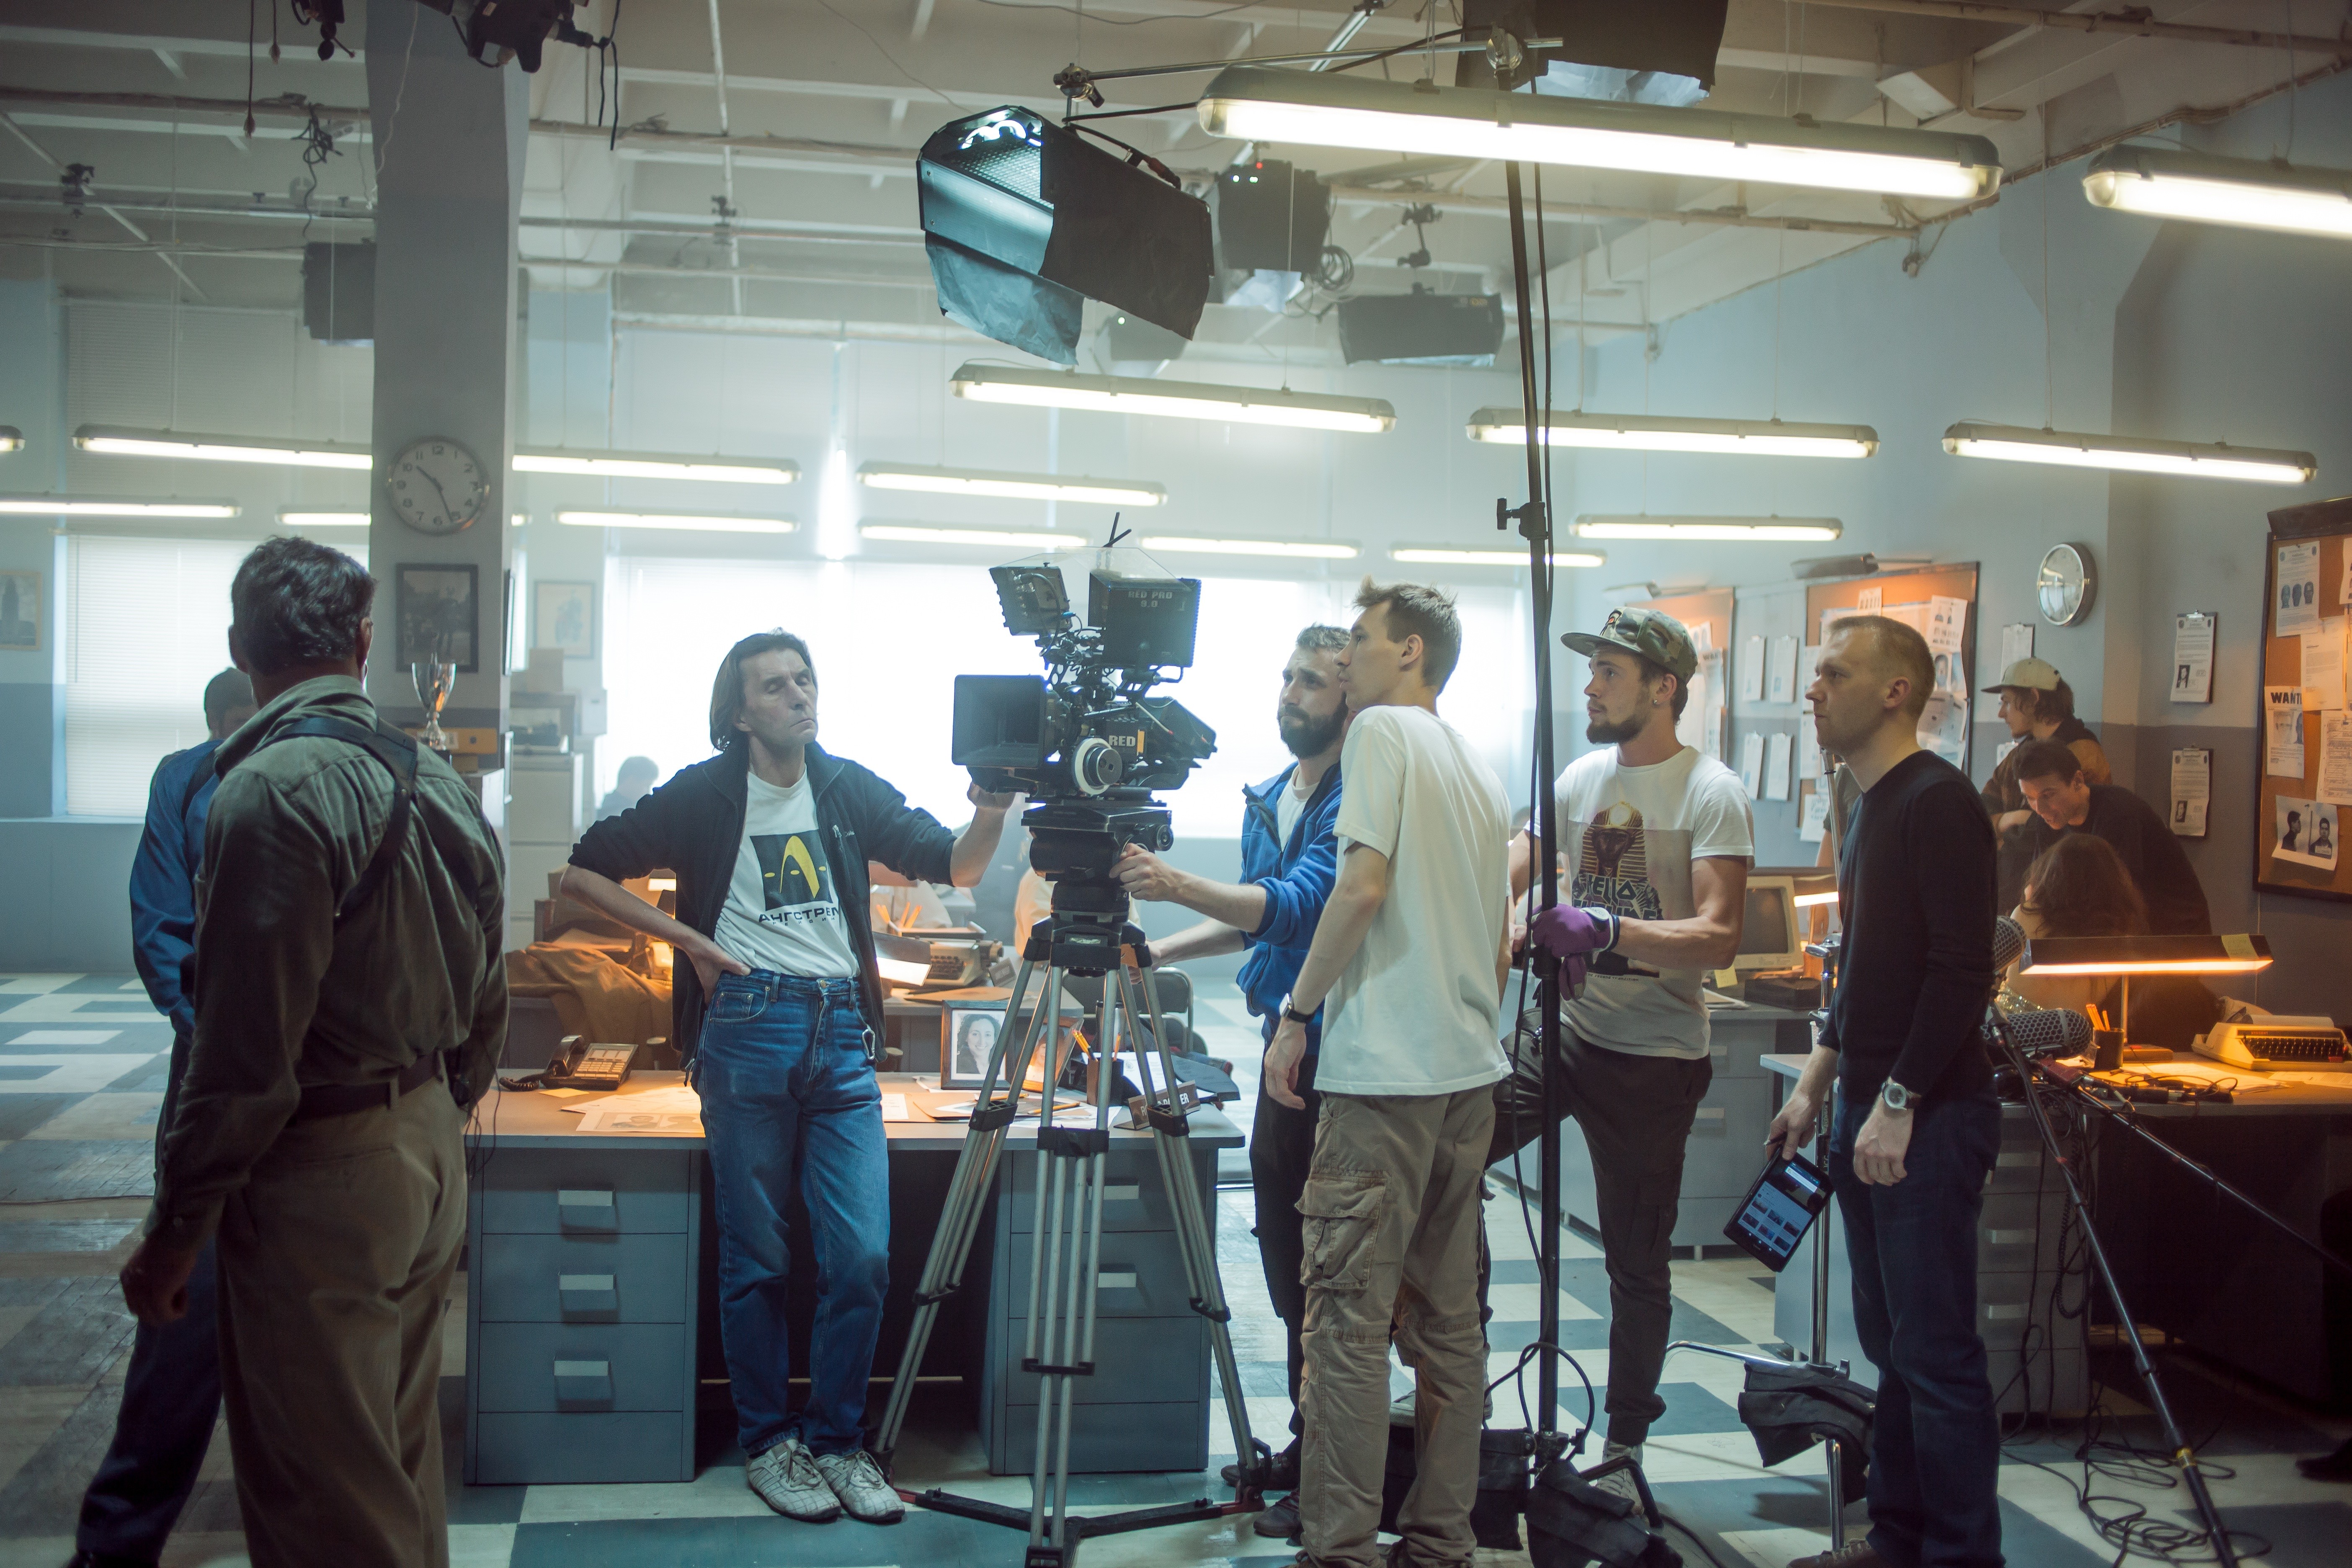
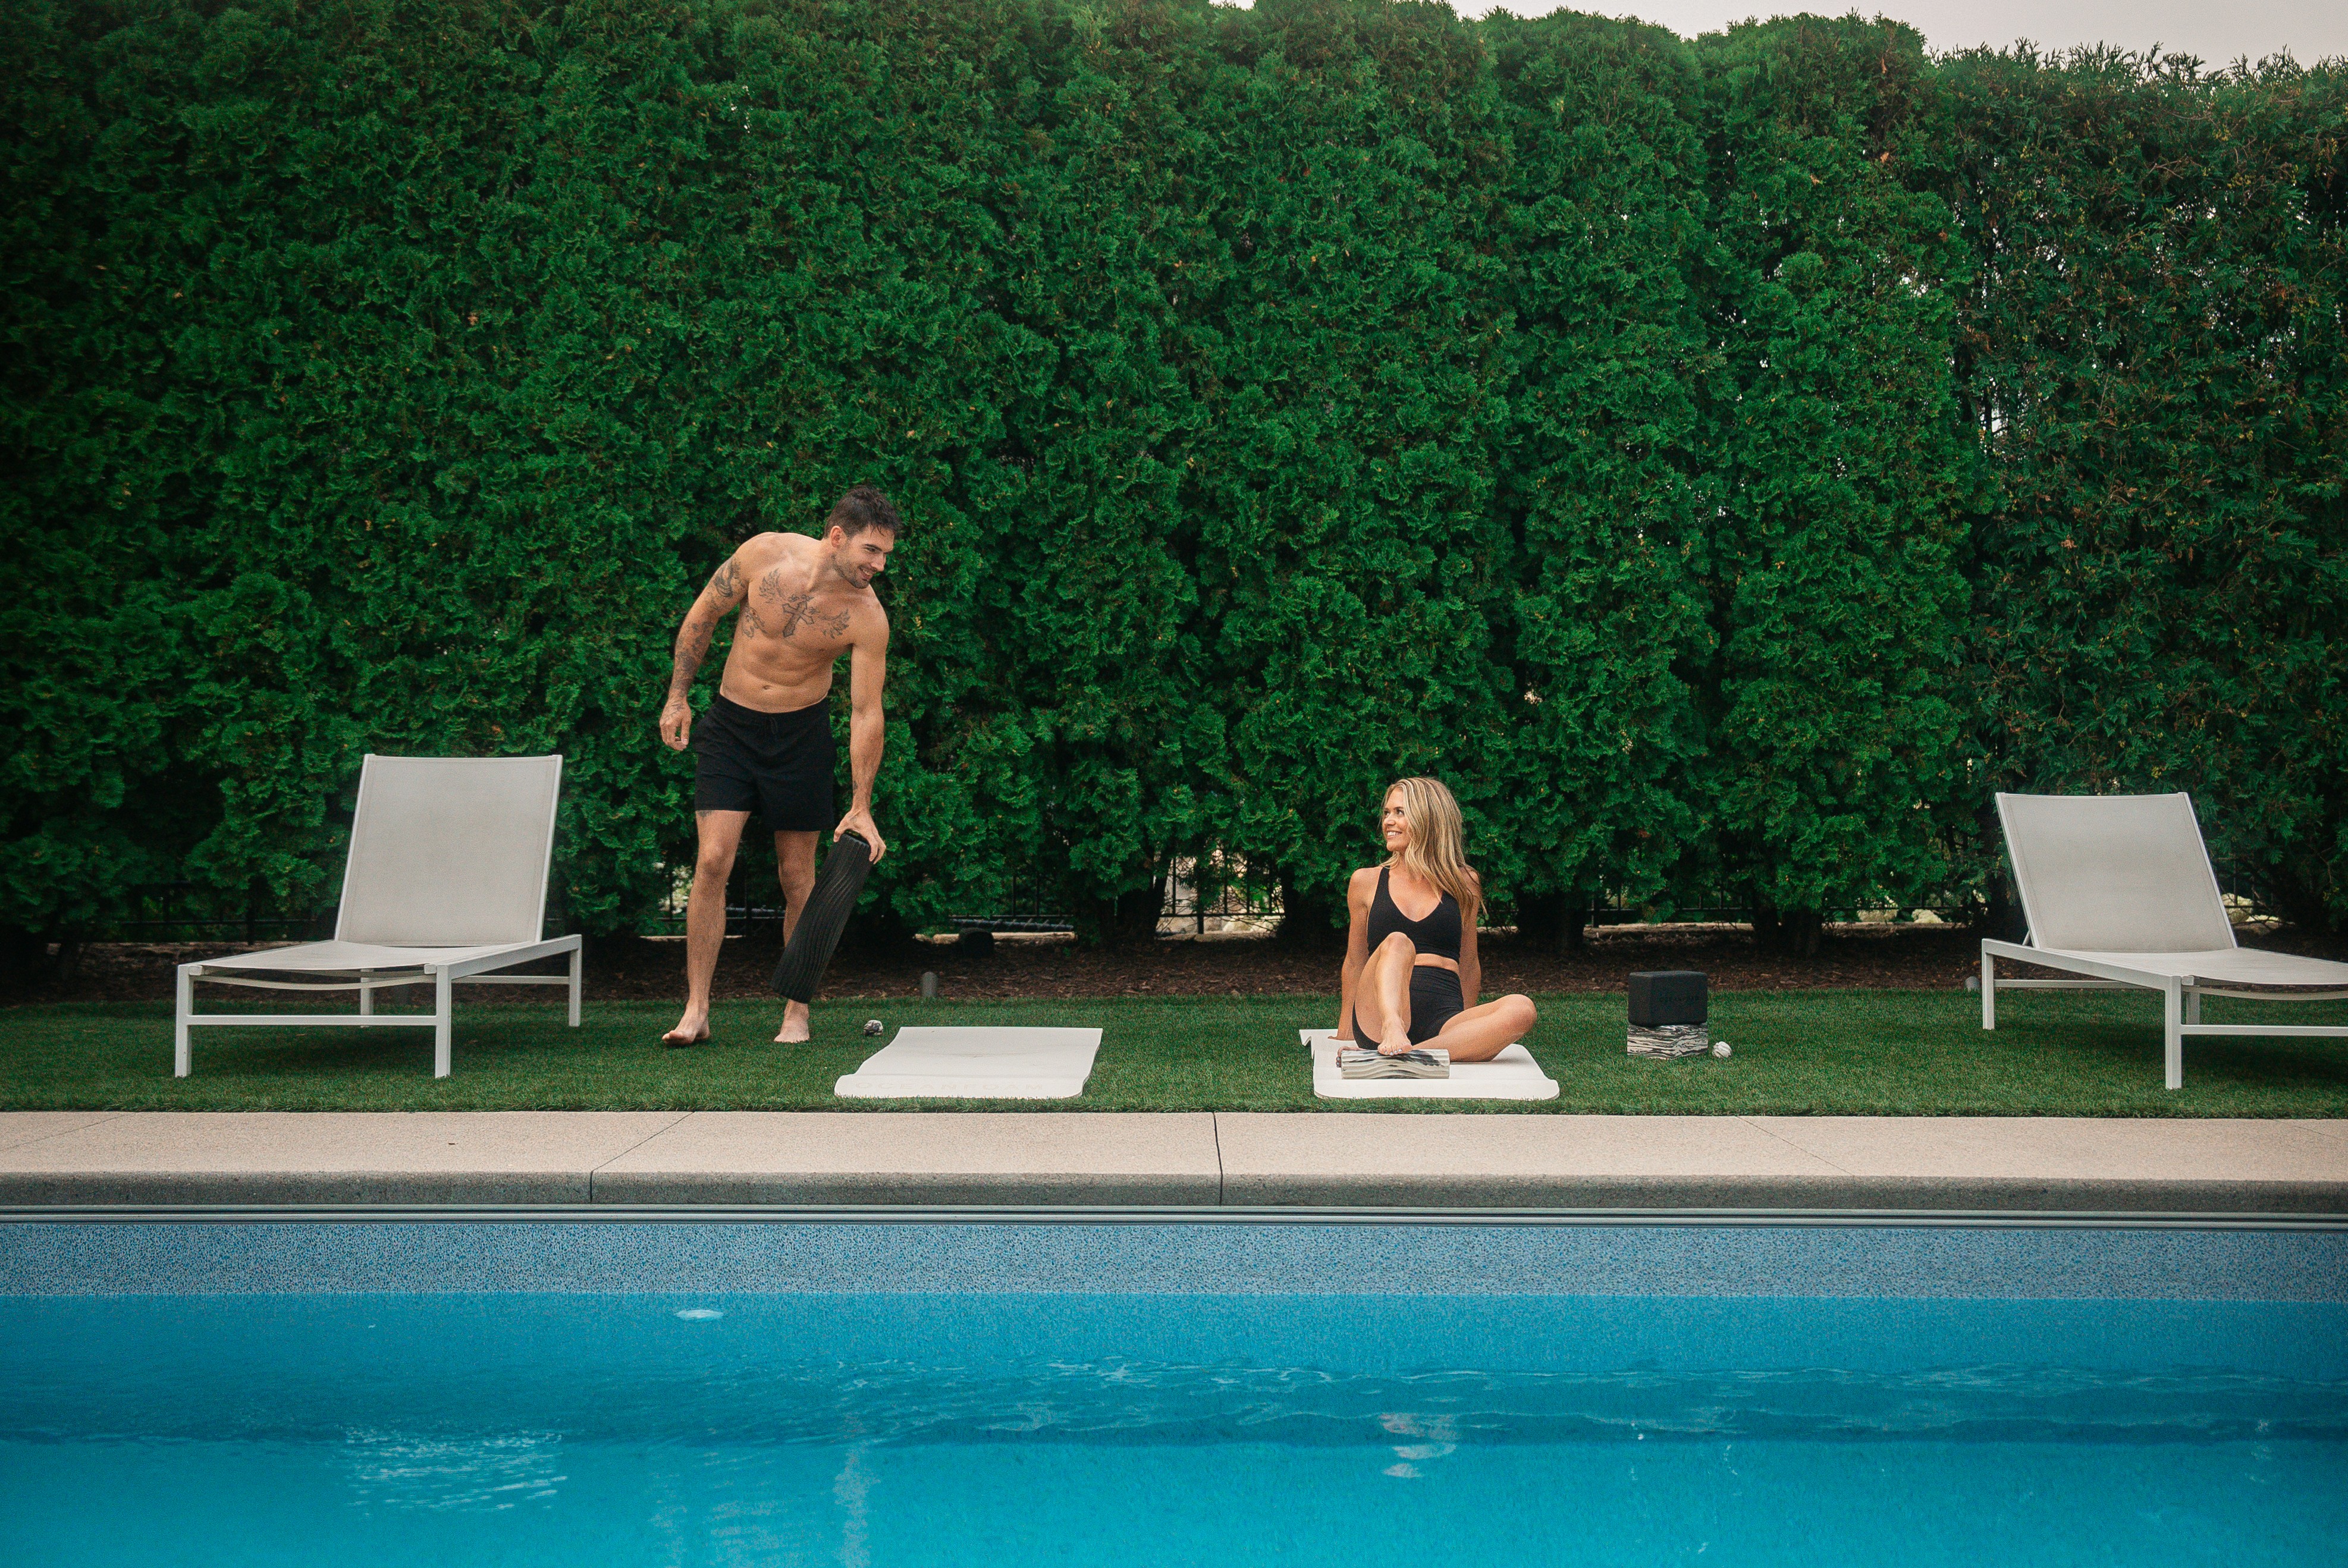
Oceanfoam Spec Project: Behind the Scenes
Aug 27, 2024
Recently, we had the opportunity to work on a spec project for Oceanfoam...
Attract New and Potential Clients with Video Content
Aug 19, 2024
Video has emerged as one of the most powerful tools for engaging potential customers...
7 Video Marketing Stats That Will Blow Your Mind
Aug 12, 2024
Video marketing is no longer a trend; it’s a necessity...
7 Essential Videography Tips for the Summer
Aug 2, 2024
Summer is the best time for photography. The long, sunlit days, vibrant colors...
Adobe Full Access Policy: Our Thoughts
Jul 22, 2024
There's been a buzz lately about Adobe having unrestricted access to your files...
Organic Photo Event Recap
Jul 8, 2024
We recently hosted a free public photo event, Organic, and it was a resounding success...
Chip's Pickleball Club: Eagan's New Pickleball Haven
Jul 1, 2024
Pickleball enthusiasts in Eagan, Minnesota, have a new haven to call home...
Michelle Young Foundation: Bridging the Gap in Minnesota Education
Jun 25, 2024
Former Bachelorette Michelle Young is making an impact on education in our home state...
Telly Award Winners!
Jun 18, 2024
We're thrilled to announce that we, Bloom Creativ, have been recognized with two Telly Awards...
Perfect Locations for Your Video
May 10, 2024
The location you choose for any video production work can make or break the final product...
Video Production Cost Breakdown
May 2, 2024
Ever wondered what goes into a video production project? Everything from pre-production to production to editing? Here at Bloom we...
Our Production Process
Apr 19, 2024
At Bloom Creativ, we're obsessed with one thing: bringing your brand story to life. We believe powerful narratives are the...
Lighting Techniques for Video Production
Apr 5, 2024
In the realm of video production, lighting plays a pivotal role in setting the modd, conveying emotions, and highlighting the...
5 Must-Have Video Production Gear Essentials
Mar 29, 2024
At Bloom Creativ, we’re passionate about crafting high-quality videos that tell your story. But even the most creative vision can fall flat if you don’t have the right tools in your kit.
Bloom Creativ Founder's Journey: From a Flip HD Camera to Building A Video Production Company
Mar 13, 2024
At the heart of every successful venture lies a story of passion...
5 Trending Video Editing Effects & Transitions to Use in 2024
Feb 26, 2024
As a Senior Editor at Bloom, I’ve grown to become better at filming for the edit. We’ve always heard to “fix it in post” or “do it in post” ...
One Year on Peerspace
Feb 8, 2024
Peerspace is an online marketplace founded in 2014 that allows individuals and businesses to find and book unique spaces for various events...
Model Highlight: Cait Doty
Jan 26, 2024
Meet Cait Doty, a 28-year-old model with a vibrant spirit, originally from Iowa and now thriving in Minnesota. Cait shares her interests and experiences...
Digital Camera Basics 101
Jan 12, 2024
In the vast realm of photography, mastering the basics is like unlocking the gateway to a world of limitless creativity. Digital cameras, with their advanced features...
Bloom's Favorite Moments of 2023
Jan 3, 2024
2023 was another amazing year for Bloom Creativ, a chapter marked by growth, exploration, and unparalleled creativity. As the year unfolded, our team expanded...
5 Essential Qualities to Look for in a Minneapolis Video Production Company
Dec 18, 2023
In today's digital landscape, harnessing the power of video marketing can drive traffic and engage consumers like never before...
Unlocking YouTube Success: The Art of Being a Digital Videographer
Dec 5, 2023
Are you ready to dive into the captivating world of YouTube success...
5 Captivating Business Video Concepts to Elevate Your Brand
Nov 7, 2023
In the fast-paced digital era, video marketing has emerged as a game-changer, reducing decision-making time and increasing customer satisfaction...
Smart Budgeting for Video Production: Maximizing Your Business's Impact
Nov 1, 2023
When it comes to film production, budgets often take a back seat...
Peerspace: Your Next Creative Location
Oct 17, 2023
Are you an artist, photographer, videographer, or entrepreneur searching for the perfect backdrop to bring your creative vision to life...
